KIWI310: Assembly and Start-Up
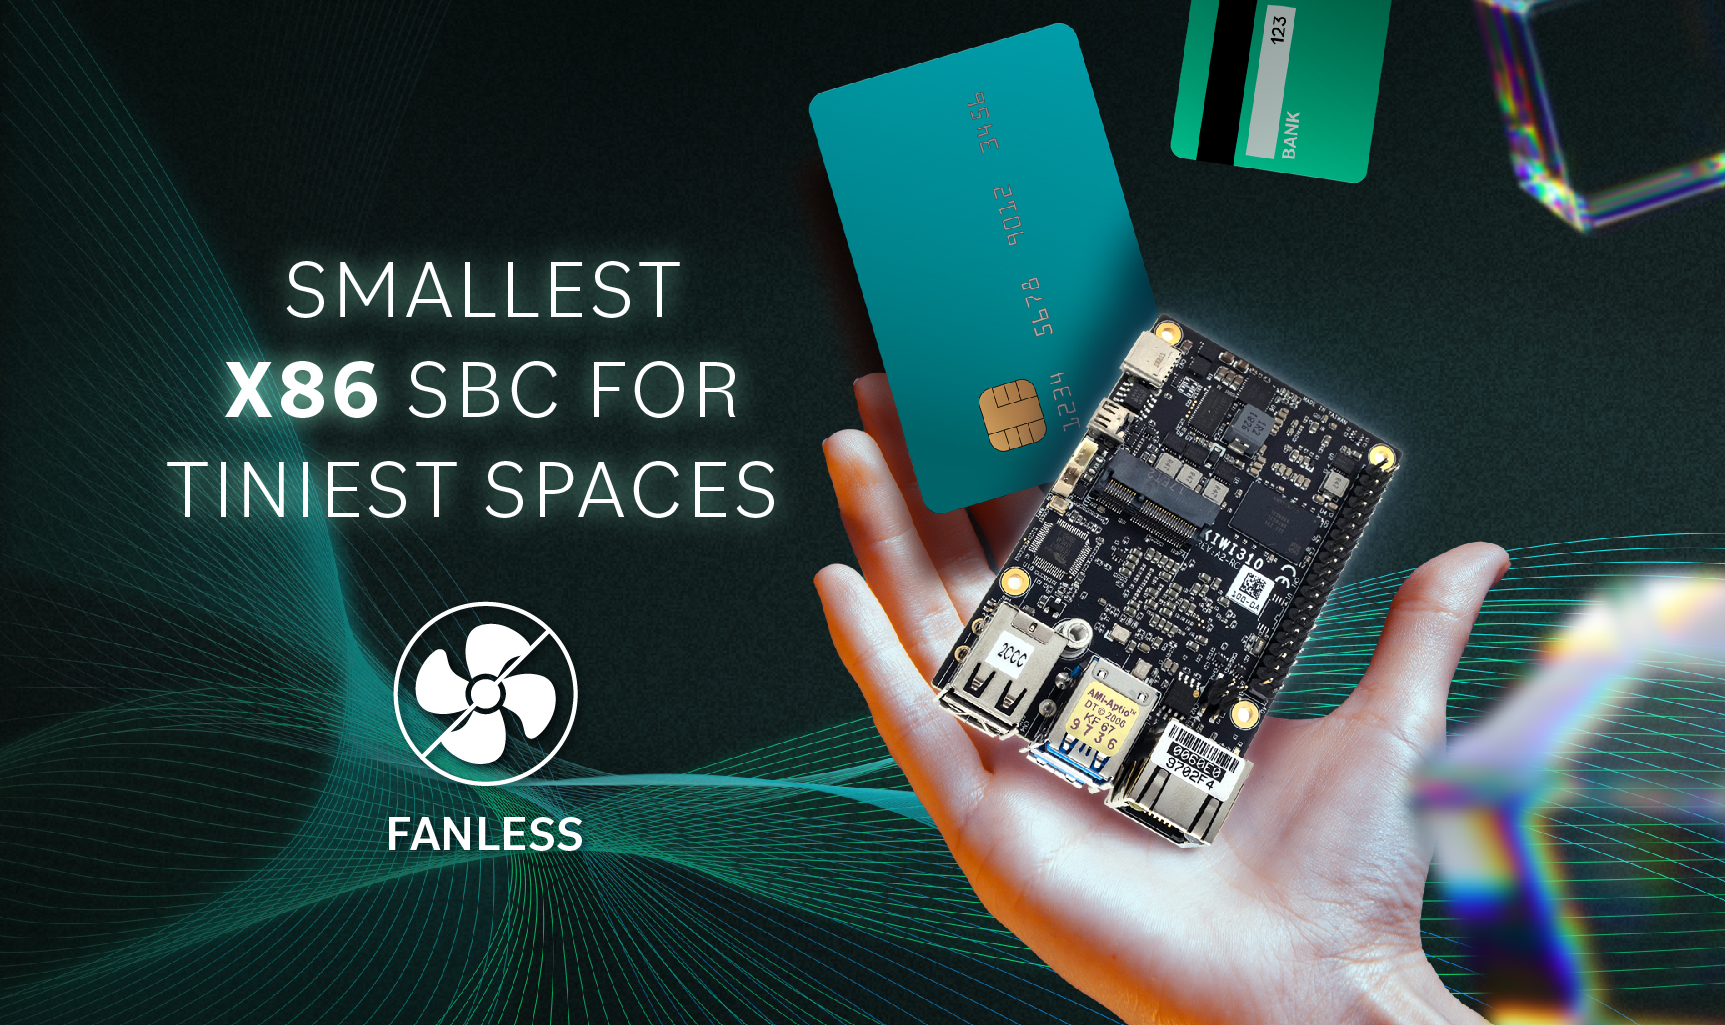
Upon first glance, it is evident that the structural design of each KIWI board is a gem of engineering. In the case of KIWI310, it is as small as a credit card but solid as a rock. In our previous post, we shared the essential characteristics of the KIWI310 single board with x86 architecture; now it's time to get to work and assemble all its parts!
We have created a quick preview of the *APC208 accessories using numbered labels and an exploded view. The overall structure is simple, and those with essential DIY experience can quickly assemble it.
-
APC208 Top Cover
-
M3*4L Screws x5
-
Thermal Pad
-
Heatsink
-
KIWI310 SBC
-
SMT Gasket
-
Copper Standoffs M3L x4
-
APC208 Bottom Cover
-
Antenna Mount Cover x2
.jpg)
APC208 Enclosure Kit and KIWI310 Assembly
*Note:
-
Consult the sections to see the KIWI310 Packing List and the APC280 Packing List
-
The APC208 enclosure is currently available as an optional accessory kit.
How to assemble the KIWI310?
Next, let's see how easy it is to assemble this mini-computer!
1. First, remove the protective sheets from the KIWI310's CPU, eMMC, and LPDDR4 and attach the platform to the heatsink, lining up the holes.
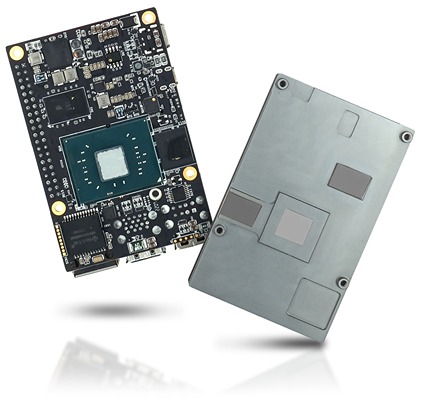
Attaching the KIWI310 with its Heatsink
2. Connect the copper standoffs by hand to the board, and then use a 5mm hex socket tool to tighten them to a torque of 4 kgf-cm.
.jpg)
5mm Hex Socket to secure the Standoffs
3. Place the SMT gasket along the PCB's and the heatsink's edge to insulate and protect the sensitive parts of the KIWI310 board. The SMT gasket is commonly used in high-quality devices that meet EMC/EMI standards.
.jpg)
SMT gasket between PCB and Heatsink for Insulation
4. Place the Bottom Cover over the Rear IO and align it with the two locking holes on the other end. Secure the cover with two screws.

Securing the Botton cover with screws
5. Remove the transparent protective coating from the thermal pad and place it aligned with the heatsink's surface.
.jpg)

Thermal Pad for Perfect Heat Transfer
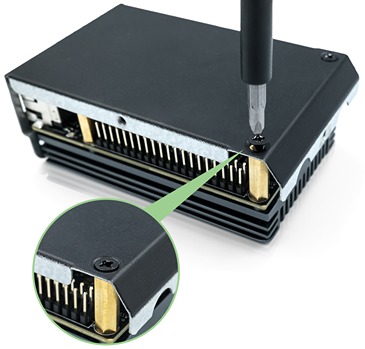
6. Place the top cover on the assembly and secure it firmly using the five screws on the outer casing. As you can notice, the screw holes and IO position of the case are perfectly aligned, exact, demonstrating careful and thoughtful design.
.jpg)
Precise Screw Holes and IO Positioning
Congratulations—you are now an expert in assembling the KIWI310! Now, you can transform your ideas into reality and achieve the best results for your projects.
.jpg)
KIWI310 Final Assembly
Why KIWI board Solutions?
The original KIWI310 is already a fascinating single-board computer. Still, the addition of the APC208 enclosure adds an extra layer of protection, allowing you to transport it anywhere confidently without worrying about damage from collisions caused by movement or vibrations during transport.
Additionally, unlike traditional personal computers that often require tedious manual referencing of instruction manuals, complicated wire assembly, and complex configurations, the KIWI310 paired with the APC208 mini system offers a truly effortless experience!
Don't delay any longer—become a KIWI board expert today! Transform your ideas into reality, and let's collaborate to achieve the best results for your projects.
About KIWI board
KIWI board is a complete solution provider, supporting all aspects of your project, from hardware to software to system integration, to keep your application running securely, reliably, and at peak performance. KIWI board builds its products for high reliability, performance, security, scalability, and versatility. So, customers can expect a long lifespan, quickly adapt to evolving system requirements, and adopt future technologies as they emerge.
Next steps
Ready to talk about your projects with a KIWI board expert? Contact us
Want to hear more from KIWI board? Sign up for our newsletter
Or request a quotation

.jpg)